
NanoKVM Pro Review
Here is a comprehensive and strictly factual technical review comparison of the NanoKVM Pro, GL-iNet Comet Pro, and JetKVM.
When evaluating IP KVMs for a technical deployment, the primary differentiators typically boil down to video resolution capabilities, network connectivity options, and whether the software ecosystem is locked down or open for community modification.
Here is the high-level technical breakdown, followed by a detailed analysis of each device.

High-Level Specifications Comparison
| Feature | NanoKVM Pro (Desk/ATX) | GL-iNet Comet Pro | JetKVM |
| Max Resolution | 4K @ 45FPS | 4K @ 30FPS | 1080p @ 60FPS |
| Video Latency | ~60ms (at 2K) | 30–60ms | 30–60ms |
| Video Encoding | MJPEG / H.264 | H.264 Hardware | H.264 Hardware |
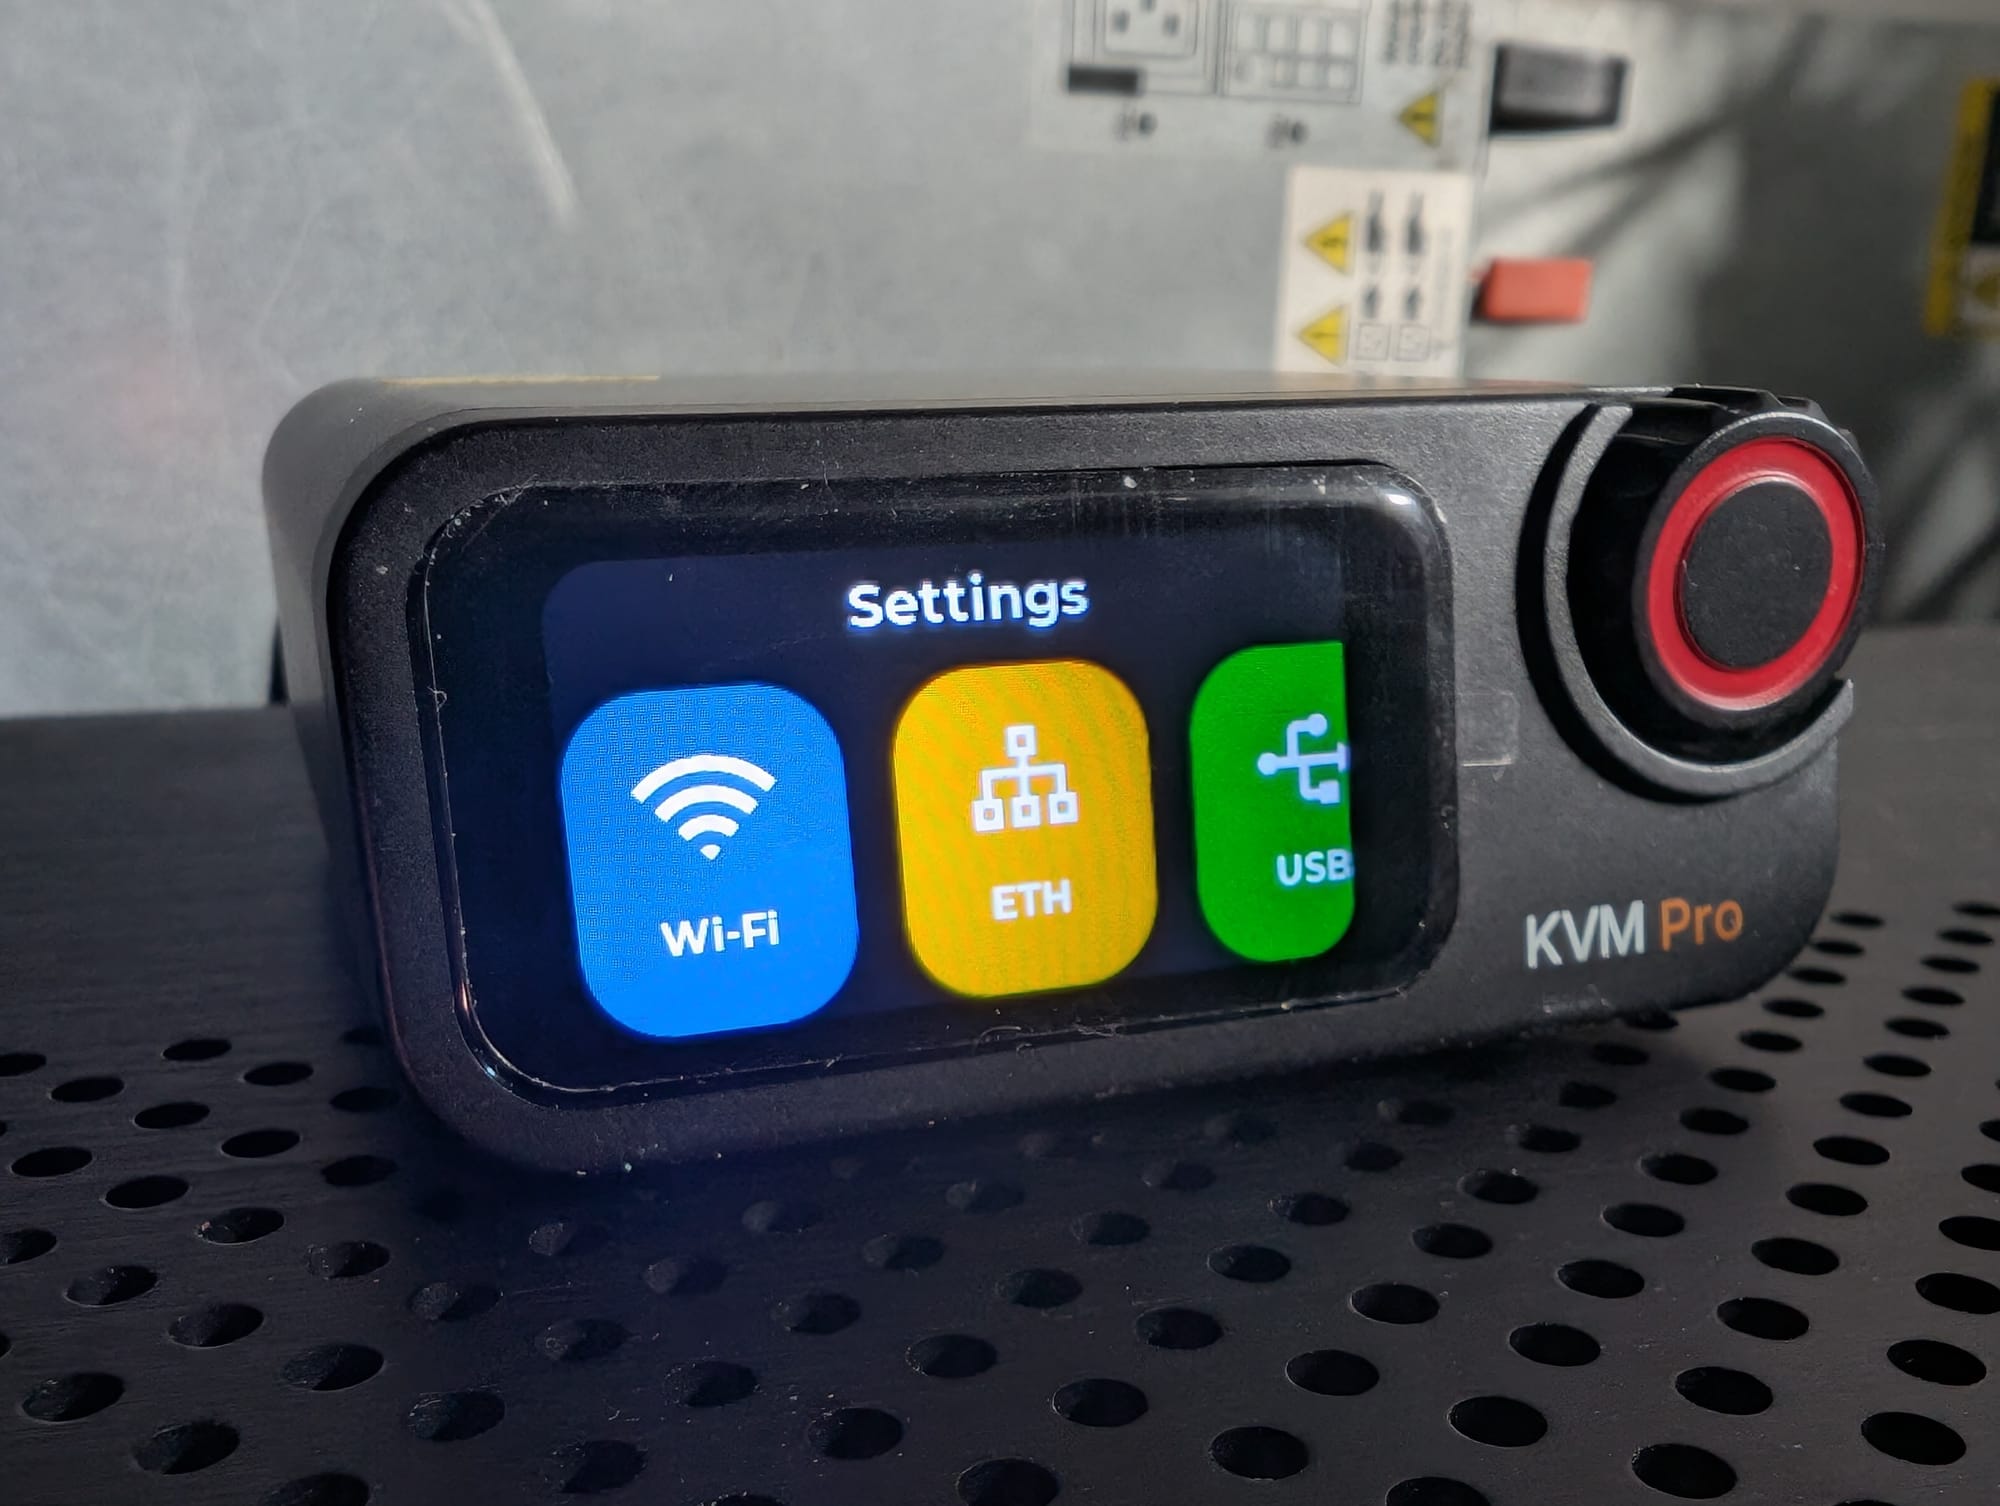
| Network | 1Gbps LAN, Optional WiFi 6 | 1Gbps LAN, WiFi 6 | 1Gbps LAN (No WiFi) |
| Processor | AX630C (2x A53 @ 1.2GHz) | Quad-core ARM Cortex-A53 | Custom ARM (Linux/BusyBox) |
| Memory / Storage | 1GB LPDDR4X / 32GB eMMC | 1GB DDR3L / 32GB eMMC | Built-in (Minimal OS) |
| ATX Power Control | Yes (Built-in for ATX version) | No (Requires extension accessories) | Yes (Via RJ-12 extension board) |
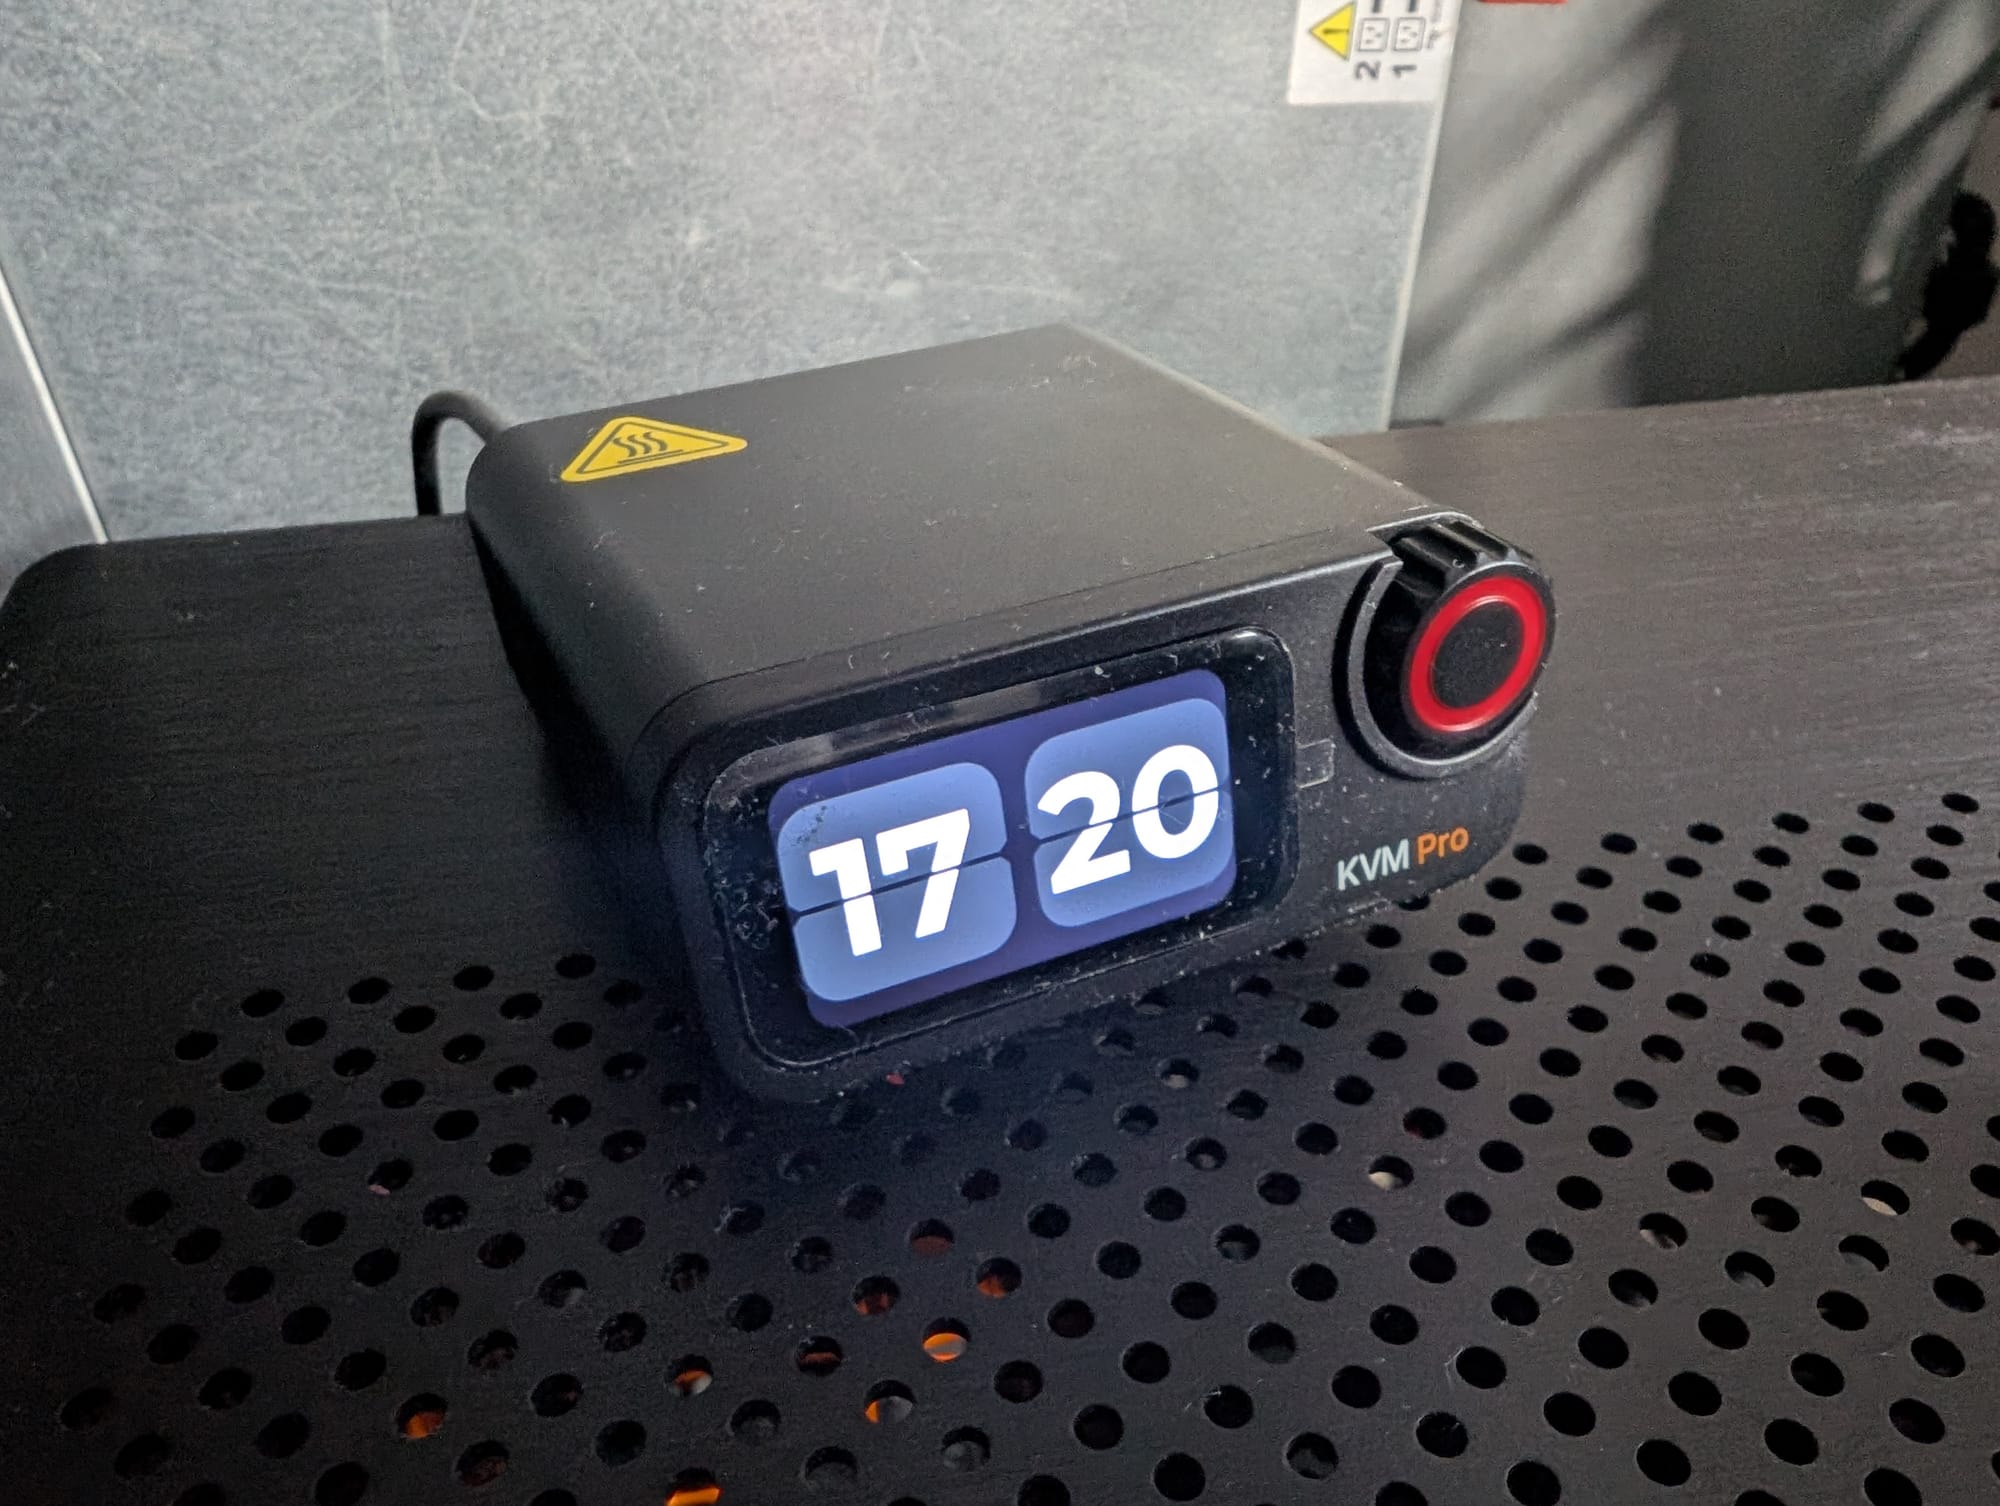
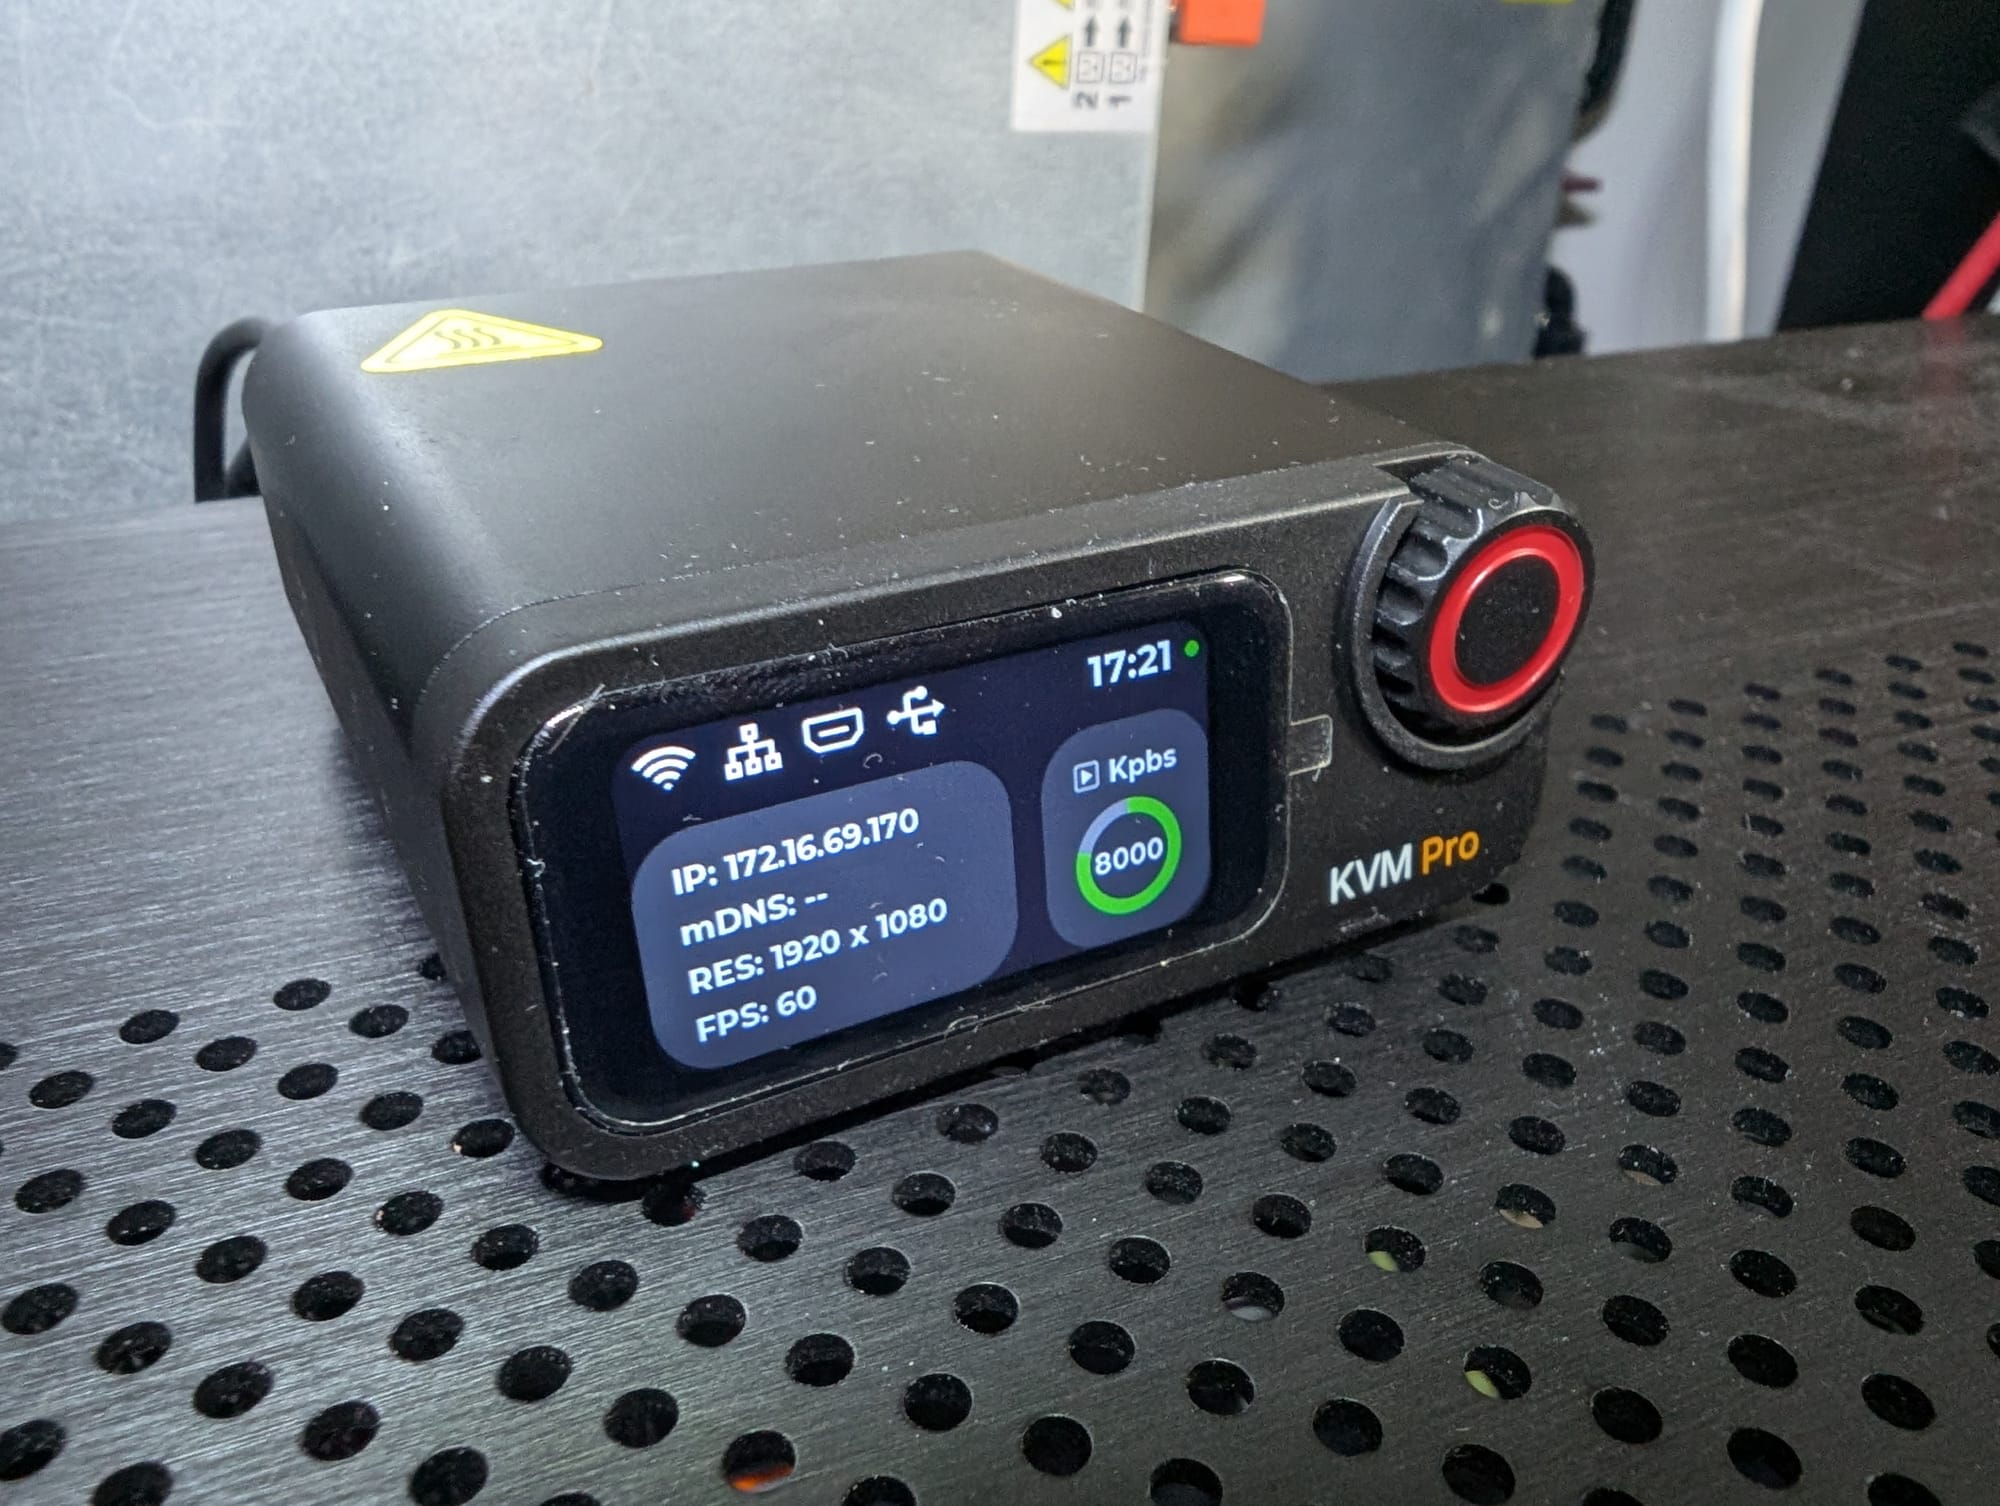
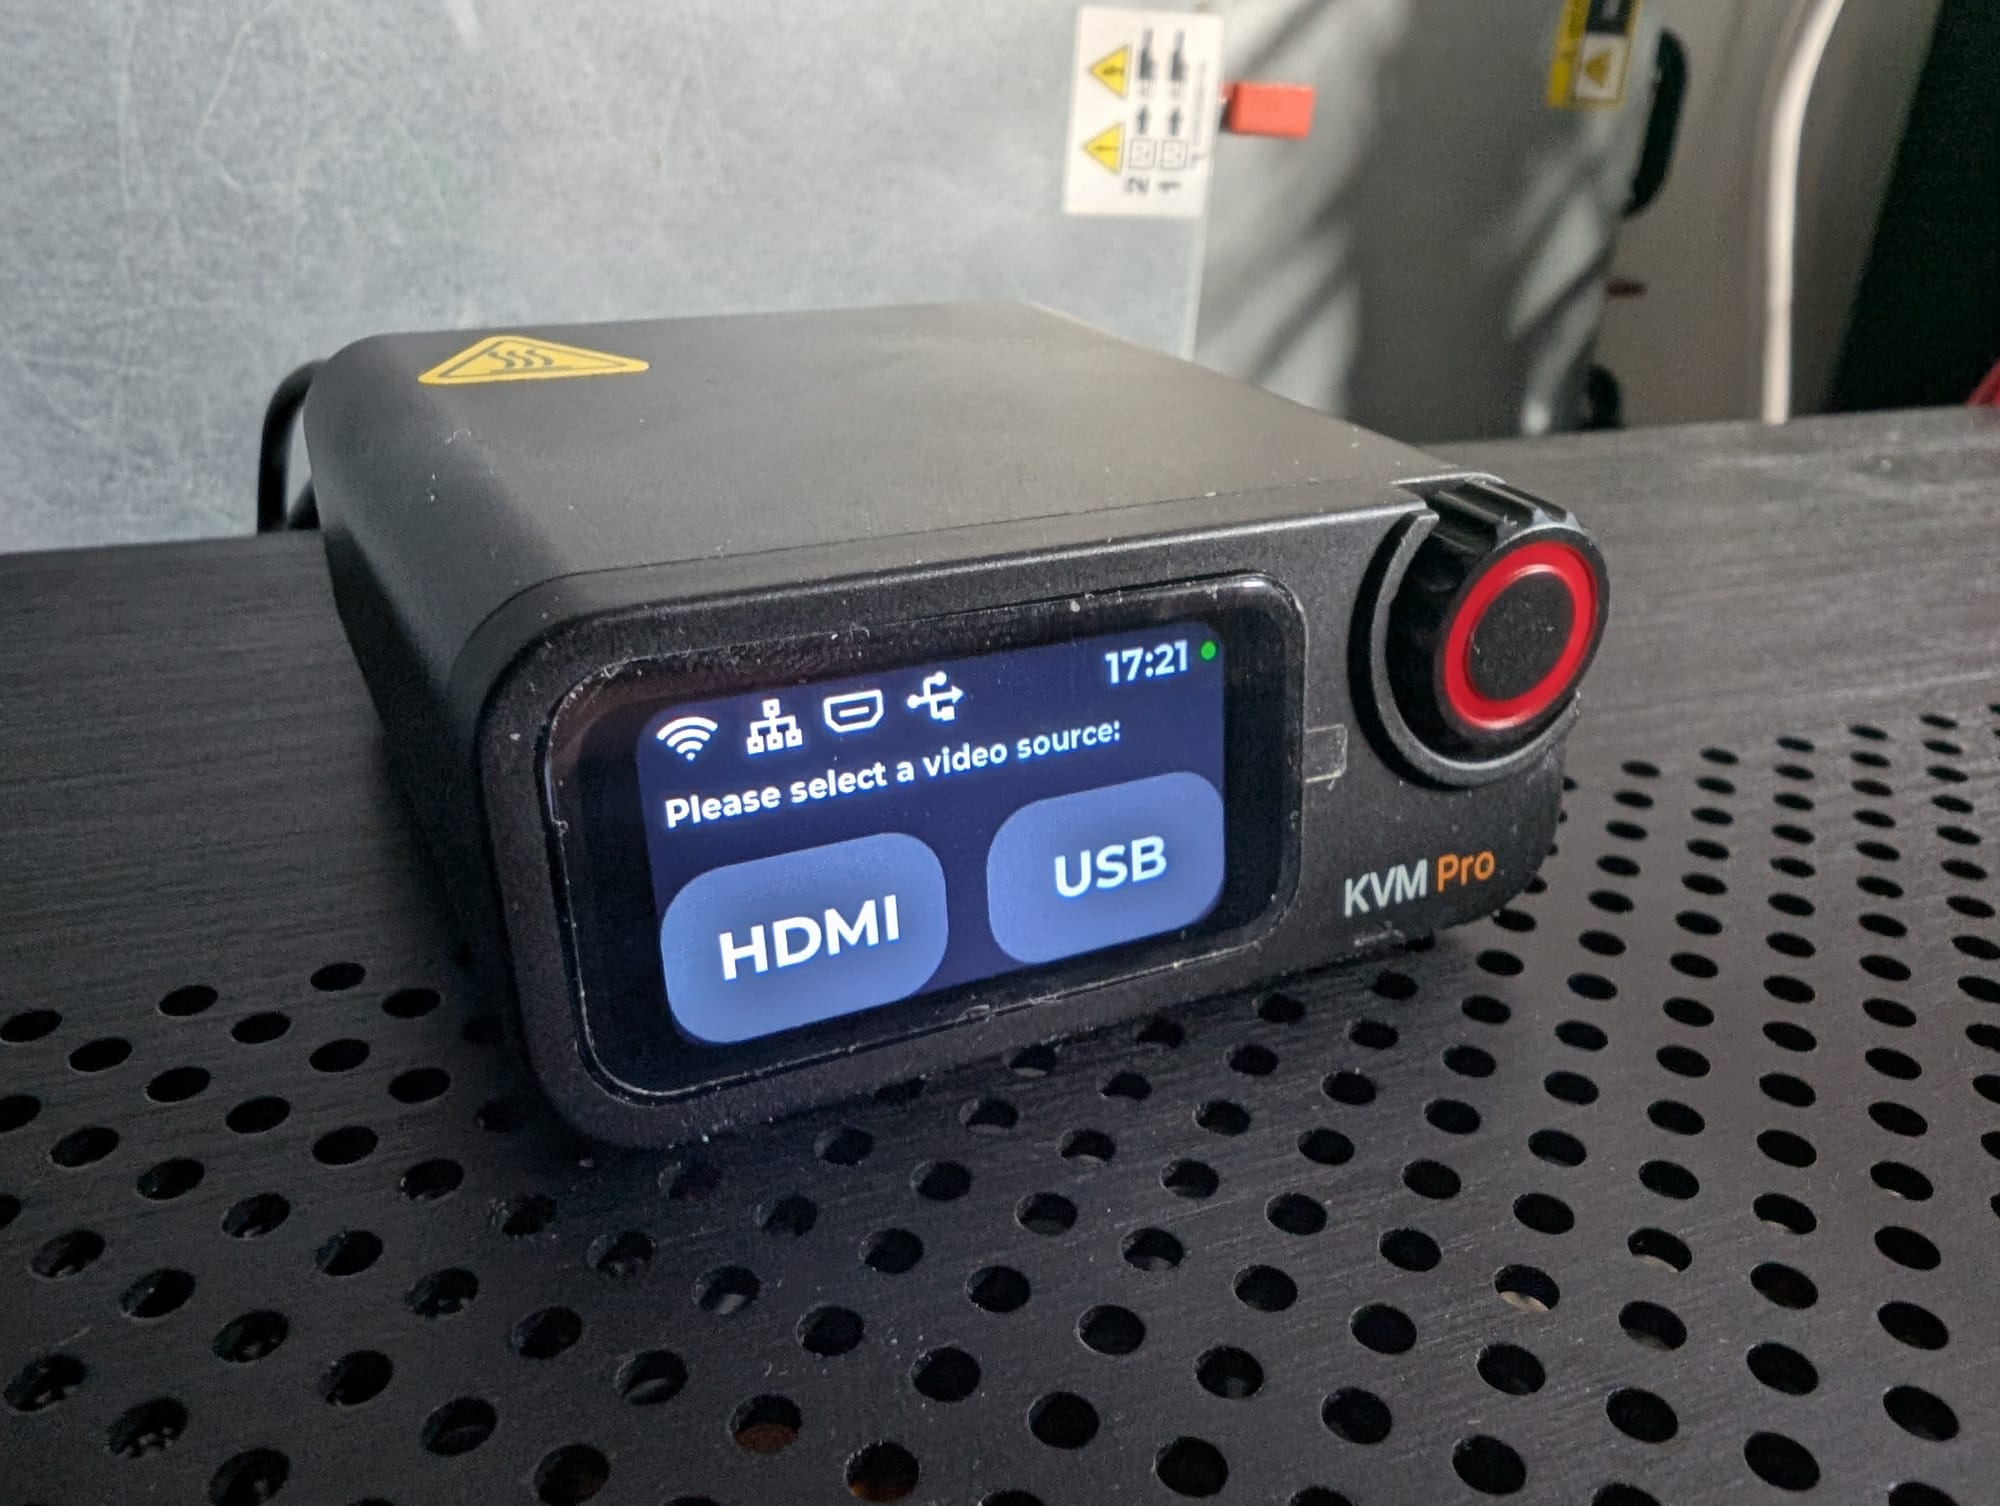
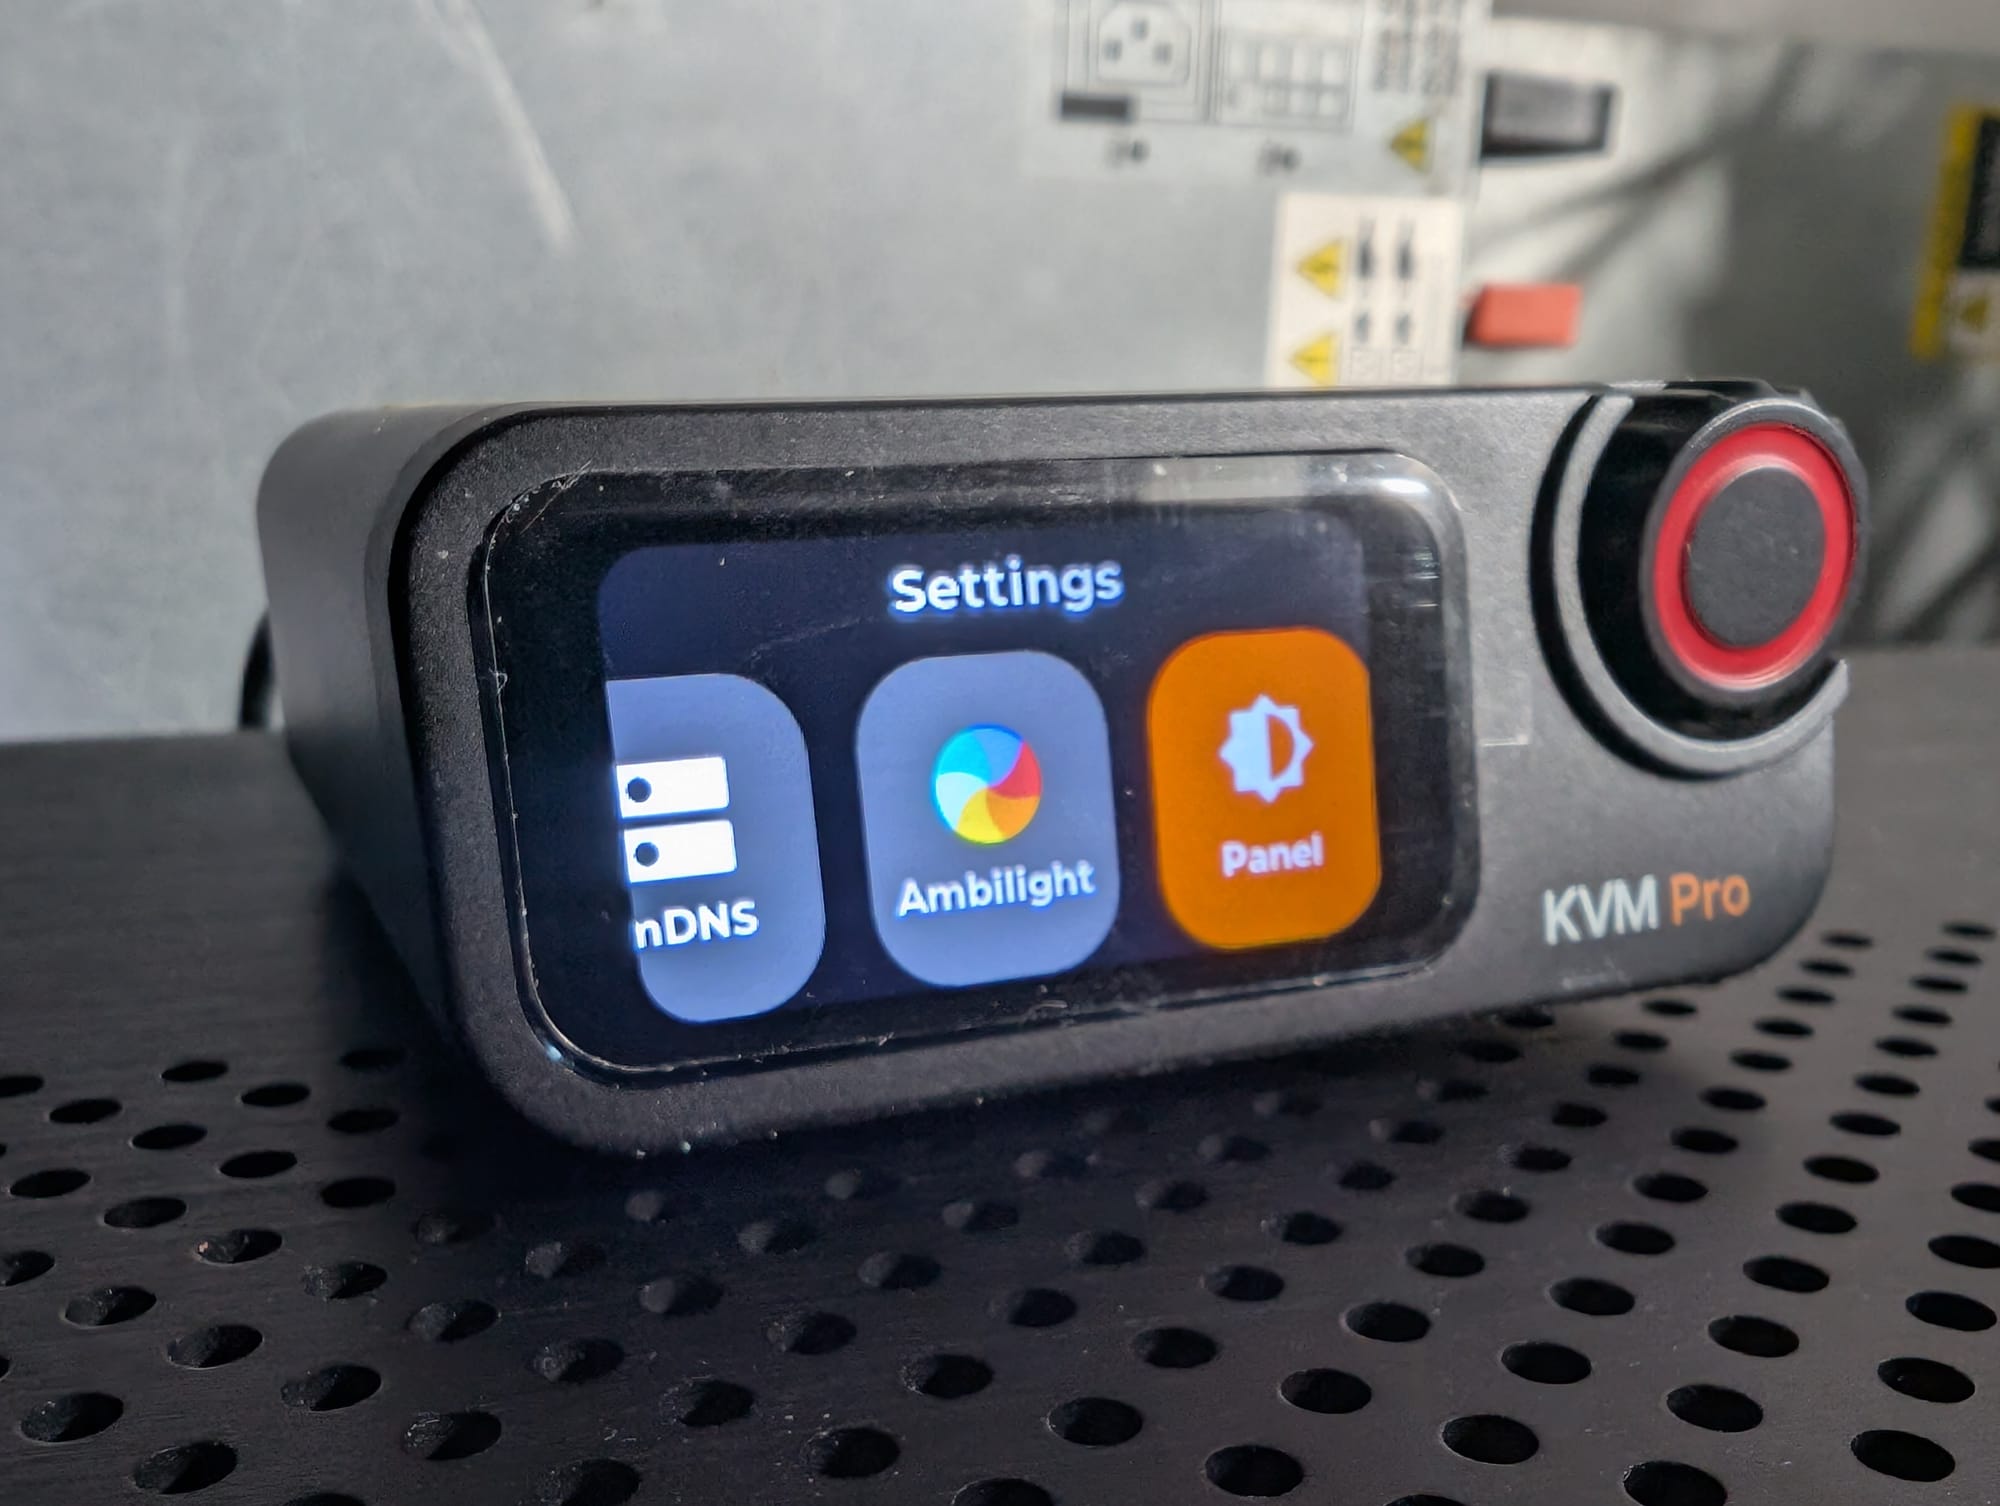
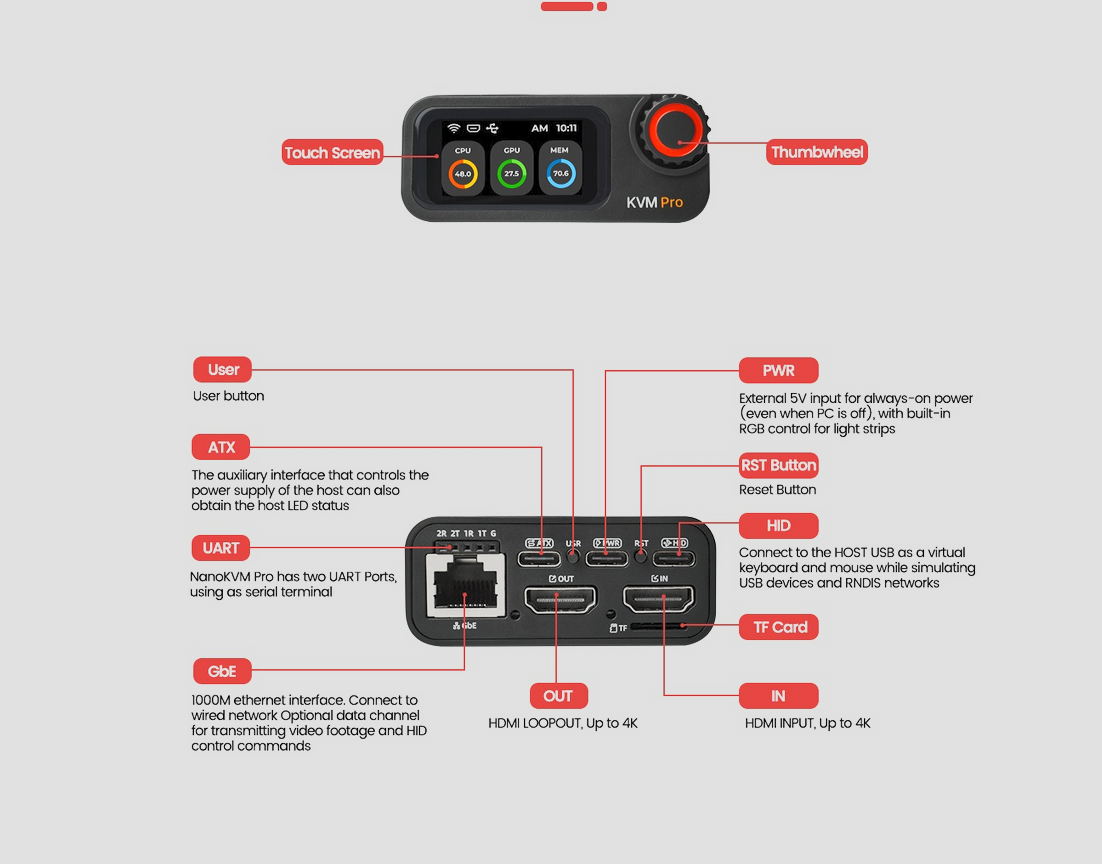
| Display | 1.47" Touchscreen | 2.22" Touchscreen | None |
| Software Status | Open Source | Closed Source / Proprietary | Fully Open Source |
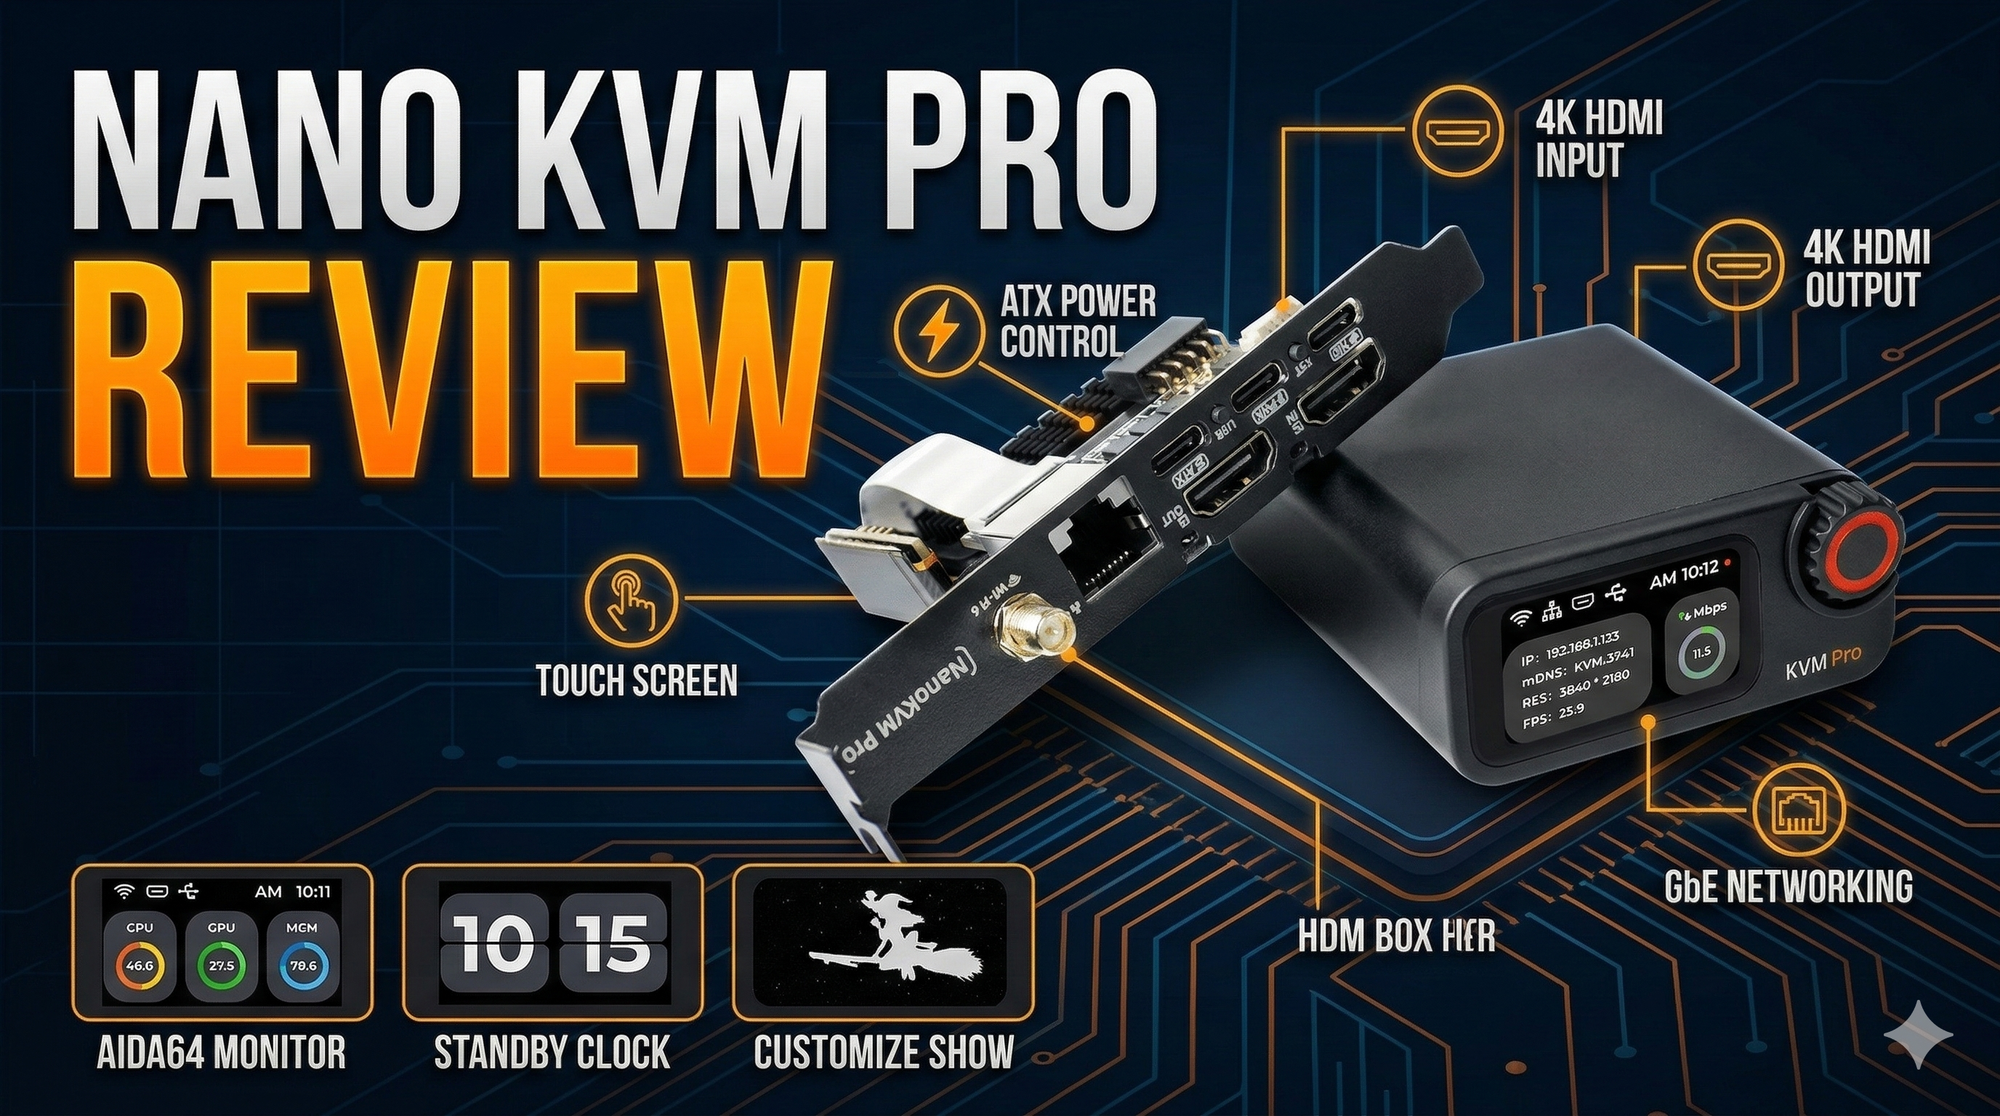
1. NanoKVM Pro (by Sipeed)
The NanoKVM Pro is a highly capable and versatile device, available in both a desktop format (NanoKVM-Desk with a built-in screen) and an internal chassis format (NanoKVM-ATX). It leverages the AX630C processor to handle heavy image processing with low latency.
- Key Technical Specs: Captures video up to 4K @ 45FPS with 4K HDMI loop-out. It supports 1Gbps Ethernet, optional WiFi 6, and optional PoE. Storage is handled by a 32GB eMMC module capable of 300MB/s reads, making it excellent for storing multiple OS ISOs.
- Software & Licensing: Open Source. The project is licensed under GPL-3.0.
- Forking: Allowed. Because it operates under the GPL-3.0 license, you are explicitly allowed and encouraged to fork the repository, modify the code, and submit pull requests.
- GitHub Repository:github.com/sipeed/NanoKVM-Pro
- Documentation:Sipeed Wiki - NanoKVM Pro
- Purchase Locations: Available via the official Sipeed AliExpress Store or Taobao.
2. GL-iNet Comet Pro (GL-RM10)
GL-iNet is known for their reliable networking gear, and their entry into the KVM market focuses heavily on plug-and-play polish, robust failover connectivity, and out-of-the-box features like Tailscale integration.
- Key Technical Specs: Captures 4K @ 30FPS with 4K HDMI passthrough. It includes a 2.22-inch touchscreen and stands out by offering both 1Gbps Ethernet and native dual-band Wi-Fi 6. It also supports two-way audio for remote conferencing or support calls.
- Software & Licensing: Closed Source. While the underlying operating system is based on Linux 6.1, GL-iNet's proprietary KVM software, WebRTC management dashboards, and routing protocols are closed source.
- Forking: Not Allowed. You cannot fork or modify the core application source code. They do, however, offer a "Self-Hosted Lightweight Cloud Option" to deploy their management server on your own Ubuntu/Linux infrastructure.
- GitHub Repository: N/A (Proprietary software).
- Documentation: GL-iNet Comet Pro Product Page
- Purchase Locations: Available directly from the GL-iNet Official Storeor their official AliExpress storefront.
3. JetKVM
JetKVM positions itself as the purist's open-source KVM. It strips away unnecessary hardware features (like built-in screens or Wi-Fi) to focus entirely on stability, low latency, and absolute software transparency.
- Key Technical Specs: Limits video to 1080p @ 60FPS to ensure a rock-solid 30–60ms latency overhead over its 1Gbps Ethernet connection. It relies on a modular RJ-12 extension port for ATX power control and serial console access. Power is supplied via USB-C or pass-through on the RJ-12.
- Software & Licensing: Fully Open Source. JetKVM's runtime is built on a Golang backend with a React-powered WebRTC dashboard. The core system runs on a highly minimized BusyBox Linux distribution. Both the local runtime and their cloud-hosted API/Dashboard are open source.
- Forking: Allowed. JetKVM actively promotes forking their cloud API and KVM runtime to build specialized workflows, integrate into existing enterprise identity providers, or fix bugs.
- GitHub Repository: Available via their developer portal (typically structured under
github.com/jetkvm). - Documentation: JetKVM Official Docs
- Purchase Locations: Available directly atjetkvm.com, or through authorized resellers like Wisdpi, iKoolCore, and eBay.
ATX Power:
Because the NanoKVM Pro comes in two physical form factors—ATX (PCIe mounted) and Desk (External)—the exact wiring differs slightly, but the underlying methodology is identical.
1. The Architectural Concept (The "Interceptor" Method)
Instead of replacing your physical case buttons, the NanoKVM Pro acts as a "man-in-the-middle" between your server chassis front panel and your motherboard.
- Motherboard Side: The NanoKVM connects directly to the motherboard's front panel IO header (specifically the Power Switch, Reset Switch, Power LED, and HDD LED pins).
- Chassis Side: The wires coming from your physical case buttons plug into a passthrough header provided by the NanoKVM.
This parallel wiring architecture allows both the physical buttons on your chassis and the digital buttons in the NanoKVM web UI to safely send open/close circuit signals to the motherboard.
2. Wiring Details by Version
NanoKVM Pro (ATX / PCIe Version) This version mounts inside your case using a standard PCIe bracket (full-height or low-profile).
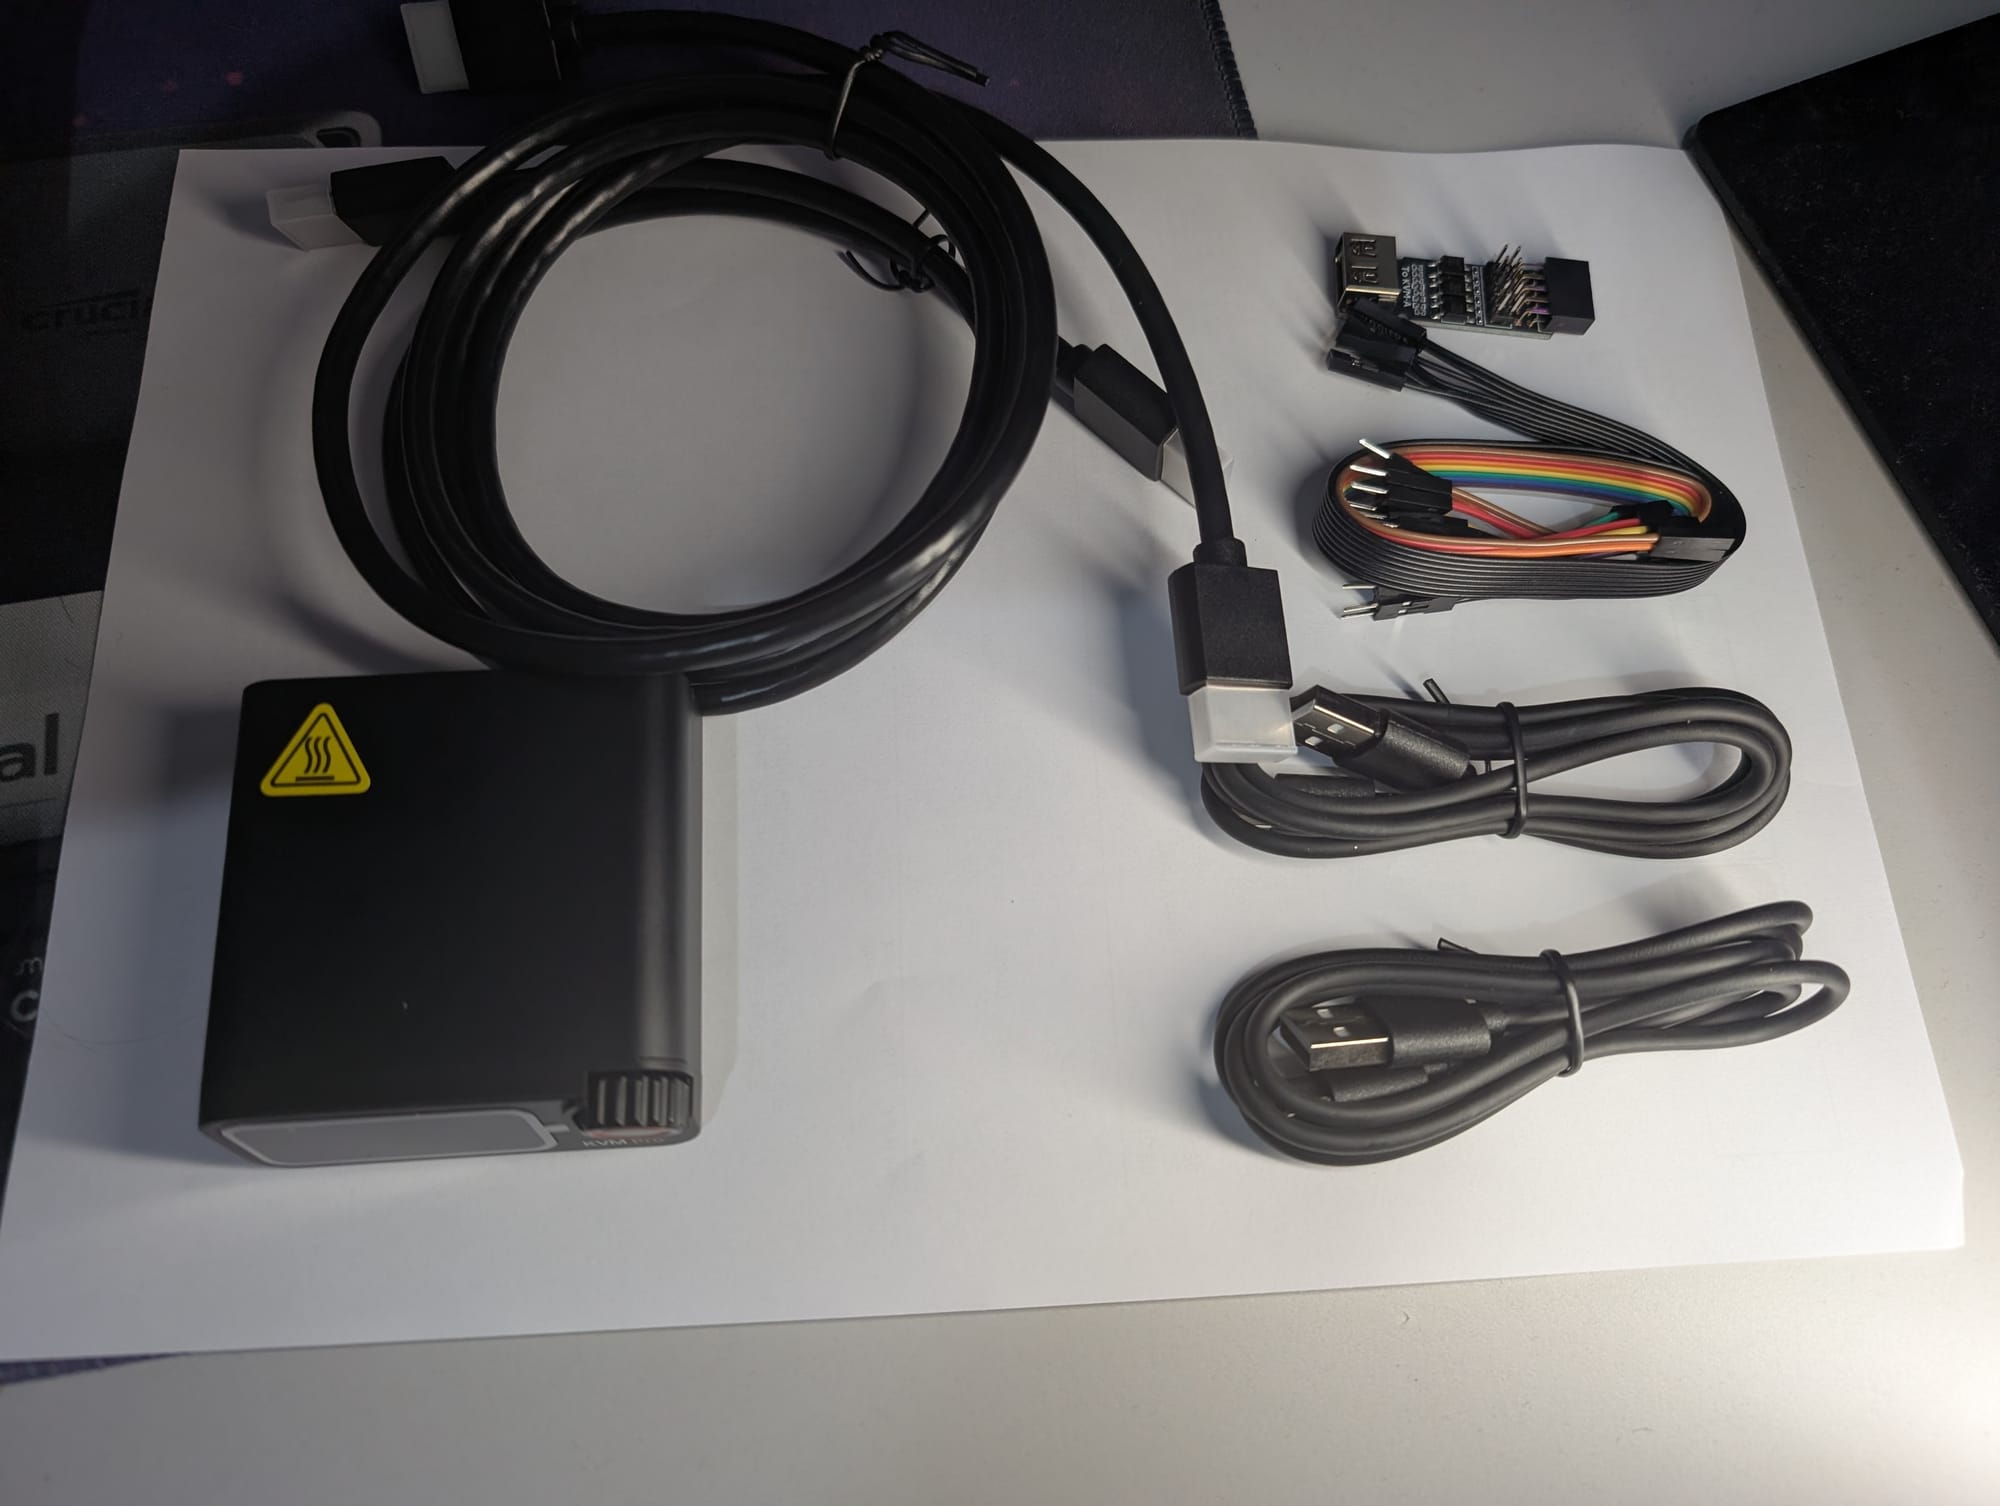
- The Connection: It includes a split ATX 9-pin cable (30cm + 30cm). You run one end of this ribbon cable from the inner edge of the NanoKVM card directly to your motherboard's front panel header.
- The Passthrough: The other end of the split cable accepts the Dupont connectors coming from your chassis front panel, maintaining local control.
NanoKVM Pro (Desk Version) Since this unit sits outside your server rack or case, it requires an external breakout board to bridge the gap.
- The Breakout Board (KVM-B): The kit includes a small PCB (the KVM-B board). You plug this board directly onto your motherboard's 9-pin front panel header. You then plug your case's front panel cables into the pins located on the top of this breakout board.
- The Connection: You run a USB-C to USB-A cable from the breakout board inside the case to the dedicated
ATXport on the back of the external NanoKVM Pro unit. (Note: While it uses a USB cable, this is sending raw GPIO signals, not standard USB data).
3. The Standby Power Requirement (S5 State)
For ATX power control to be useful, the NanoKVM Pro must remain powered on even when the host server is completely shut down (S5 state). If the KVM loses power, you cannot send the remote "Power On" command.
You have a few ways to achieve this continuous power:
- PCIe 3.3V Aux (ATX Version Only): The PCIe version can draw up to 375mA from the motherboard's PCIe slot while the computer is off, provided your motherboard supplies auxiliary standby power to the PCIe bus.
- Internal USB Header: You can power the unit via an internal 9-pin USB 2.0 header, but you must go into your motherboard's BIOS and enable "Always Power USB" (sometimes labeled as ErP Ready / Deep Sleep settings needing to be disabled).
- PoE (Power over Ethernet): If you purchased the PoE model, your network switch will keep the unit independently powered regardless of the server's state.
- External Power: You can power the unit independently via an external 5V (1A to 3A) wall adapter plugged into the auxiliary power USB-C port.
4. Software Execution
Once wired and powered, the NanoKVM Pro's Web UI will display a Power Icon in the floating toolbar. Because you have hardwired the GPIO pins, clicking this icon gives you hardware-level execution that cannot be blocked by a crashed operating system:
- Short Press Power: Sends a graceful ACPI shutdown request to the OS.
- Long Press Power: Forces an immediate hard power-off (holding the circuit closed for ~5 seconds).
- Reset: Instantly shorts the reset pins for a hard reboot.
Other Useful Video by DigiBite: https://www.youtube.com/watch?v=5-uao3a1Ot8&t=1s